Because I am using Let’s Encrypt for my public SSL certificate needs, I have to update my certs every 3 months. It’s not so bad considering the fact that it’s 100% free, but it can be a bit cumbersome if you don’t have the process automated. Luckily I am at the point where the entire process is automated, thanks to Ryan Bogler’s PoSH-ACME Powershell module, but I thought I would share the process of how to update SSL certificates for Exchange 2019 manually. These steps are the same for Exchange 2013 and Exchange 2016 since they both use the similar web interface.
If you have any questions regarding the process, be sure to leave a comment and I’ll do my best to get back to you.
Update SSL Certificates for Exchange 2019 by Generating a Certificate Signing Request (CSR)
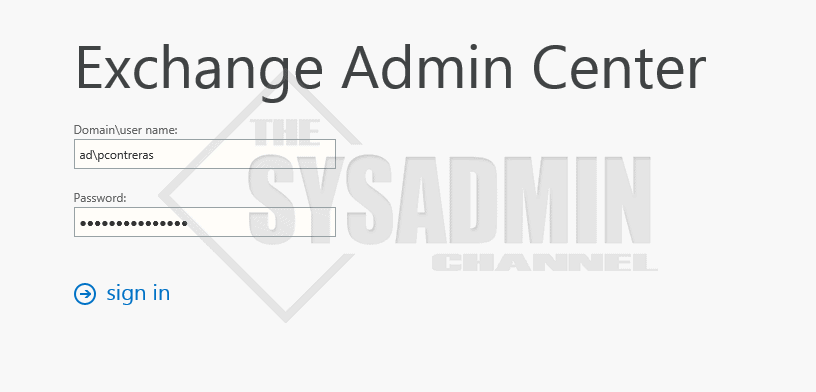
- Start out by opening a browser and navigating to https://YourExchangeServer/ecp
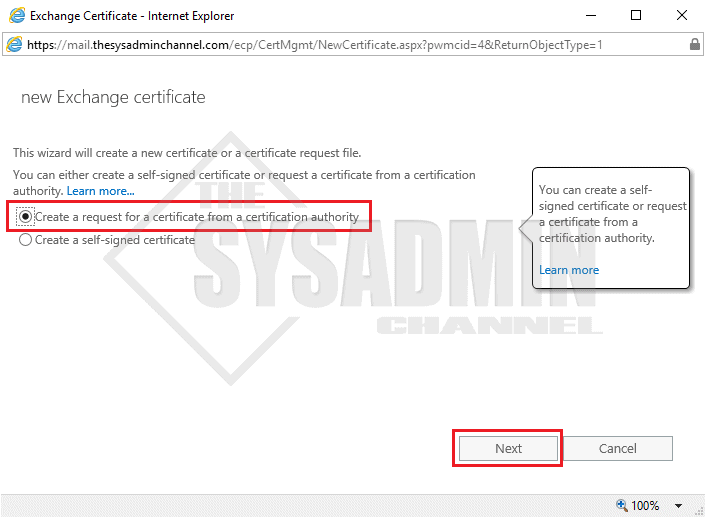
- Next, click on Servers -> Certificates -> Add Icon
- The default, Create a request for a certificate from a certificate authority should be selected
- Enter in a friendly name for your cert
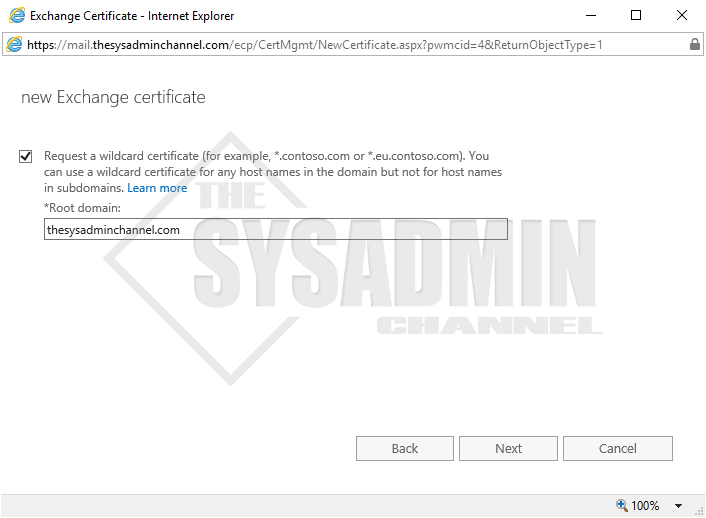
- If you want a wildcard, click the setting and enter in the root domain. Otherwise, enter the exact name that will be used.
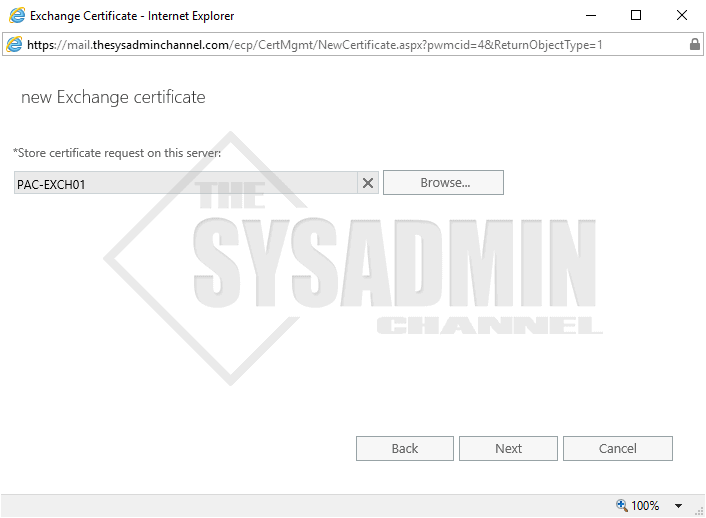
- Click browse to select the server. Click next
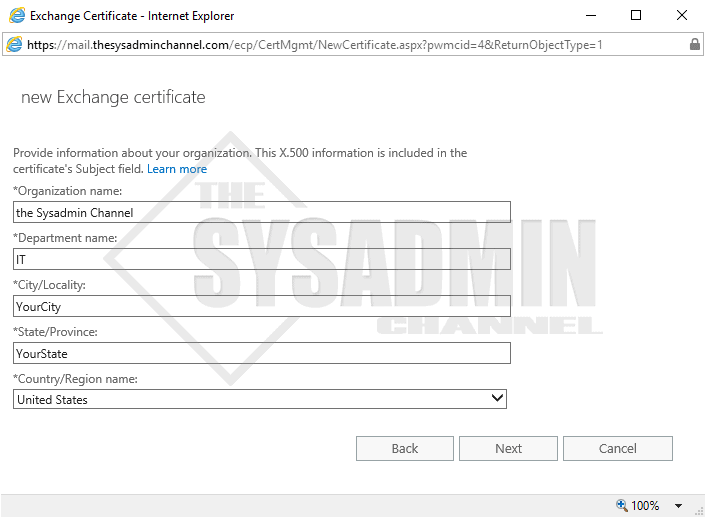
- Enter the details regarding your organization
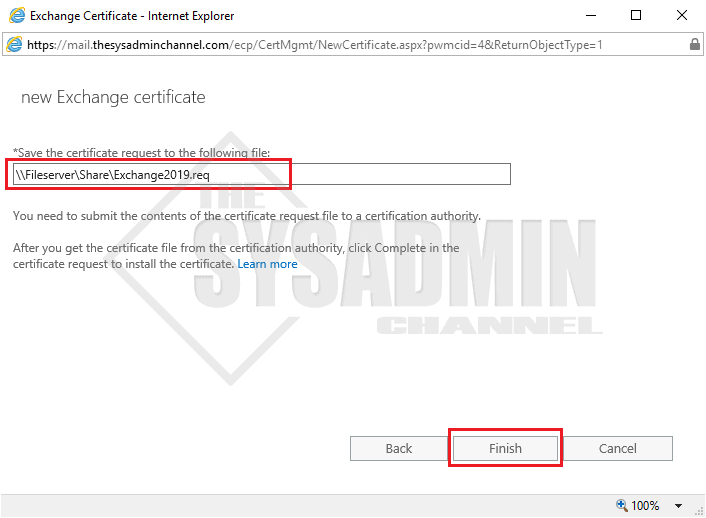
- Enter in a path that you have access to
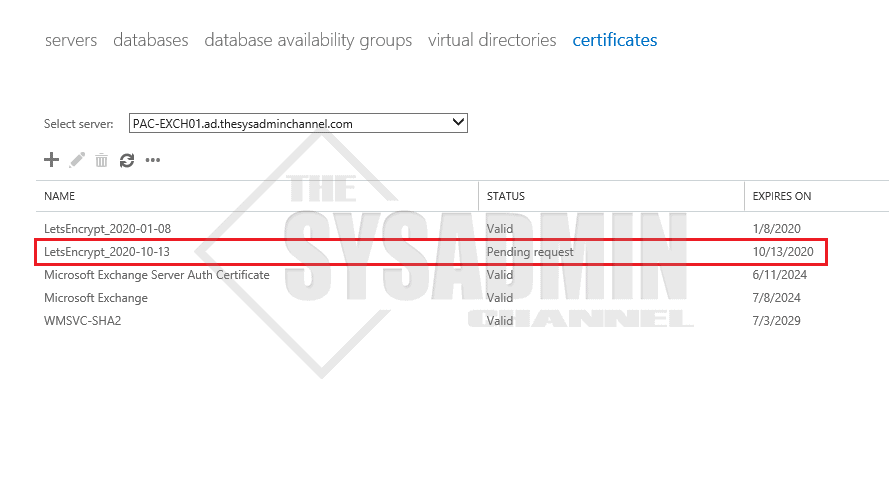
- Once the wizard has successfully completed, you should see a pending request in your ECP
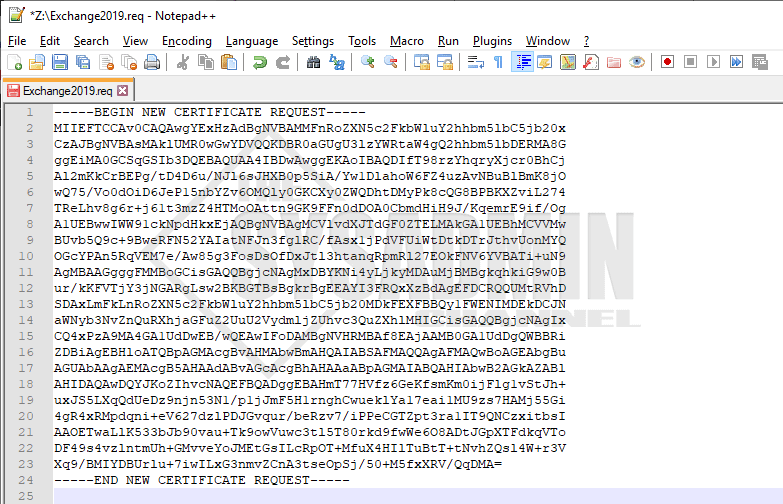
- Navigate to the saved location and open with Notepad or editor of your choice
- IMPORTANT: You need to submit that newly created cert req to your public SSL provider so they can provide you the actual .CER file.
- Once you’ve obtained the .CER from your Cert Provider, go back to Servers -> Certificates and click Complete
- Provide the location for the .CER file
- Once a valid .CER file has been uploaded, the status should change to Valid
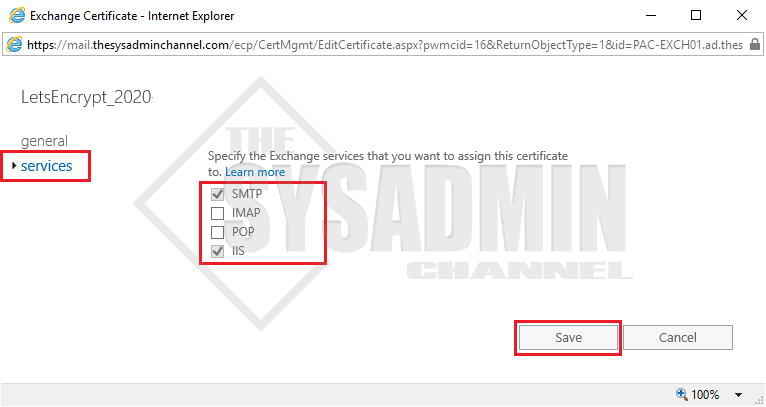
- Double Click the newly added cert and go to Service. Add SMTP and IIS services

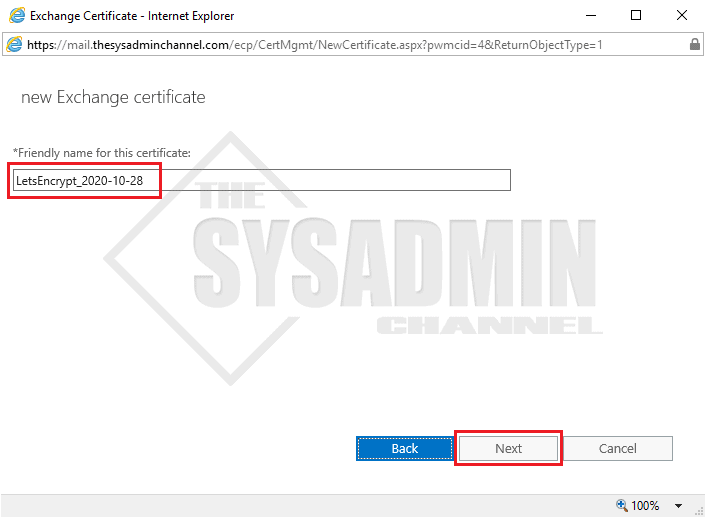
I chose to append the expiration date to my friendly name so I can see just by looking at it, when the cert expires.

At this point you should be able to go into your certificate store and export the .PFX file for use with ADFS or other services that require a private key. The path is generally going to be found under Cert:\LocalMachine\My
Hopefully this answers some questions and helps you update SSL Certificates for Exchange 2019 in your environment. The first time I did it, it was very daunting but once you have an understanding of the process, it makes more sense. Finally, don’t forget to subscribe to our Youtube Channel for some interesting video content and good times.