In this article we’re going to walk through the steps needed to deploy MFA using Azure AD Conditional Access. The basic gist is we’ll enforce multi-factor authentication for all users in the tenant with the exception of our break glass account, our Azure AD Connect sync account and an MFA exclusions group we created. The best part about it, is that it can all be automated! And we love our automated processes. There are however, a couple of settings we’ll need to check before rolling out MFA so we’ll start off by taking a look at those first. Another important thing to note is that you’ll need an Azure AD Premium license to use conditional access so it will cost a little money upfront.
If you have any questions on anything in this article, watch the video demo at the bottom of the page or feel free to drop me a comment and I’ll do my best to get back to you.
Multi-Factor Authentication (MFA) – Getting Started
As mentioned above, if you haven’t deployed MFA in your tenant at all, there are some basic settings we need to look at before hand. We can access those settings via the direct link or navigating through the portal. Below you can find how to do both.
- Configure MFA Settings Direct Link: https://account.activedirectory.windowsazure.com/usermanagement/mfasettings.aspx.
- Navigate through the portal: https://portal.azure.com -> Azure Active Directory -> Security -> MFA -> Configure additional cloud-based MFA settings
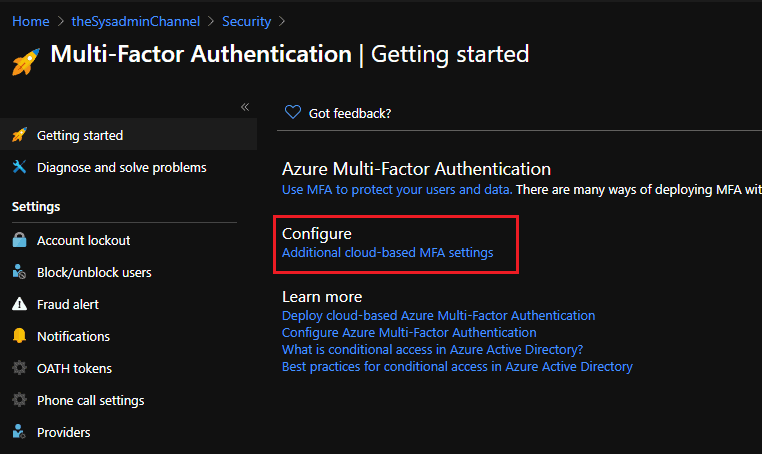
Once there you’ll be prompted with some simple options.
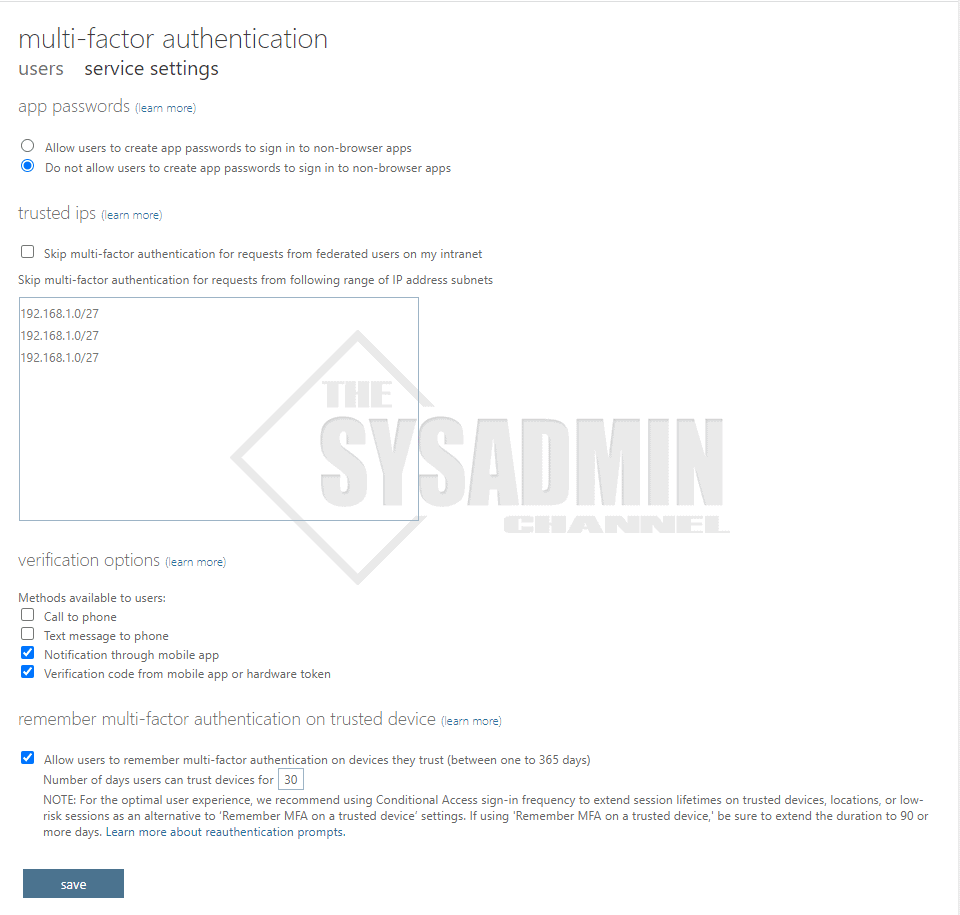
These are the typical settings I like to set in my tenant.
App Passwords
- App passwords are most commonly needed for orgs that have older versions of Office, such as Office 2010. Office 2016 supports modern auth and ADAL
- App passwords have been a pain in my experience and not user friendly
Trusted IPs
- Trusted IPs are used if you want to bypass MFA
- IPs can be easily spoofed so I’ve never enabled this in production
Verification Options
- Call and Text are considered insecure in today’s standards so I leave them unchecked
- Notification through mobile app uses the Microsoft Authenticator App and is very convenient
- Verification uses a 6 digit code and you have to manually enter in at the prompt. Less convenient
Remember Multi-Factor Authentication
- Set a number of days the token remains valid. Environments I’ve seen typically use 30 days
- This is a per device setting. If a new device authenticates, it will need to MFA
Deploy MFA Using Azure AD Conditional Access
Now that we have the basics out of the way, lets deploy MFA using Azure AD Conditional Access. Again, conditional access is part of the Azure AD Premium license so you will need to purchase that. Typically, you can get Enterprise Mobility + Security (EMS) E3 and that should be cover the licenses needed for this. EMS E3 also gives you the license for Intune and Mobile Device Management (MDM) but that’s a separate topic.
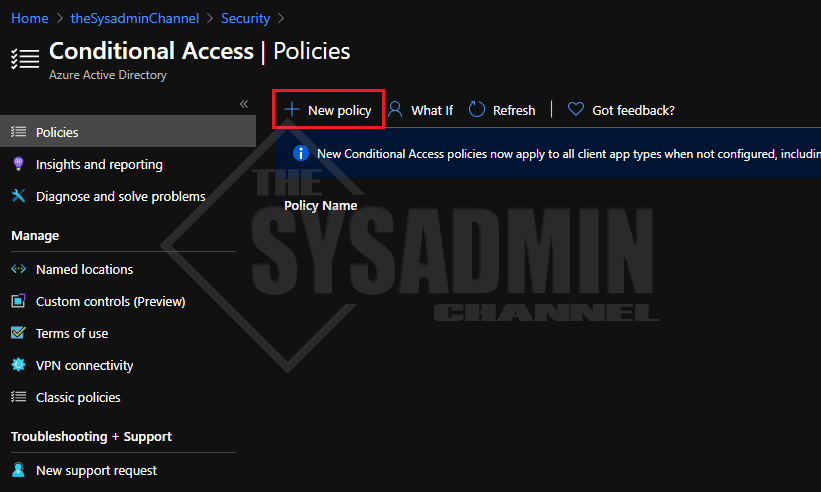
- In the Azure Portal -> go to Azure Active Directory -> Security -> Conditional Access
- Create a New Policy and name it Common Policy – Require MFA For All Users
- Under Users and Groups: Specify All Users in the Include Tab
- Having MFA enforced on all users is highly recommended, if that’s not possible, apply it to a preferred group.
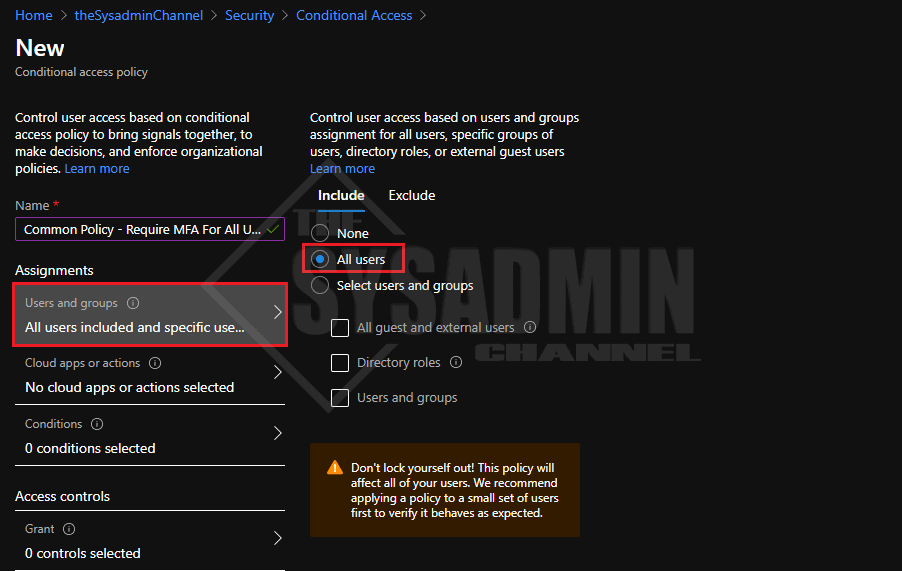
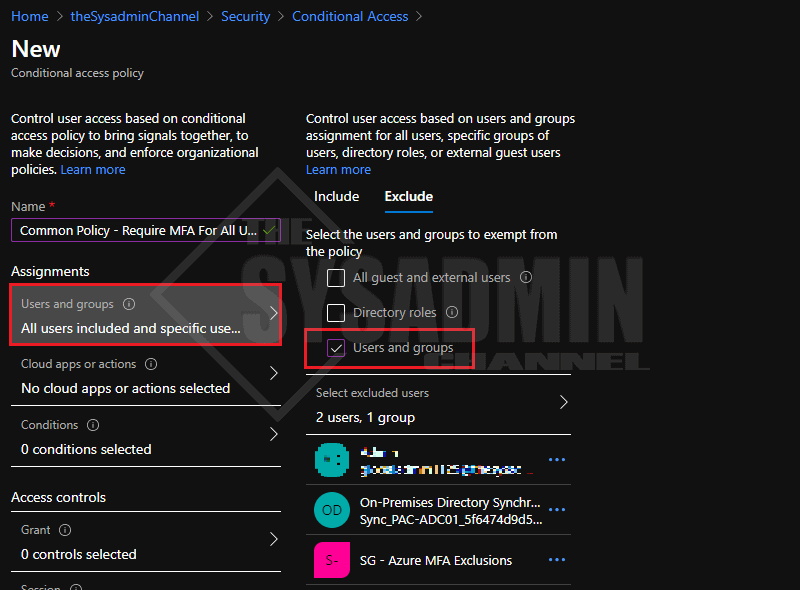
- Under Users and Group: Specify your exclusions group
- IMPORTANT!: Be sure to add a break glass account, your Azure Sync account and group for Service Accounts at very the minimum
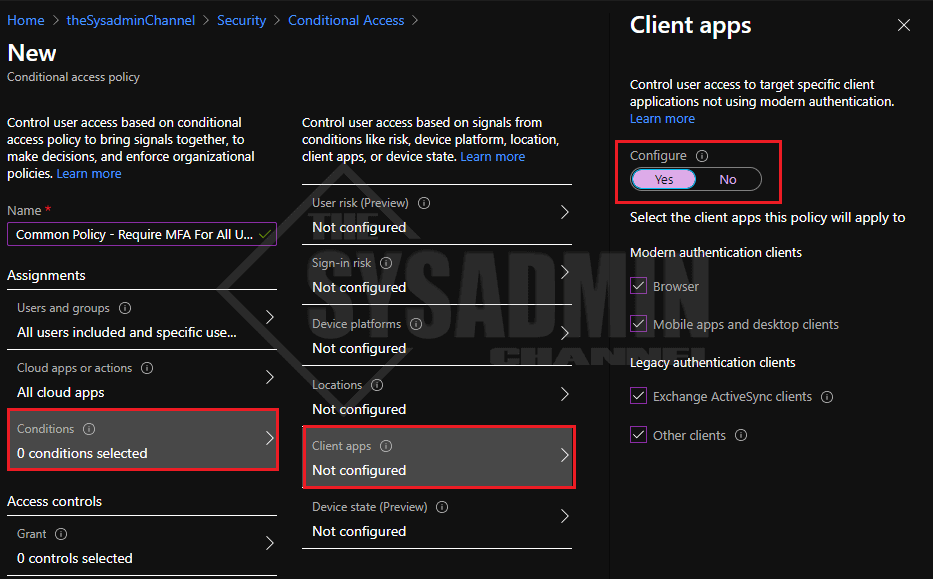
- Under Cloud Apps or Actions: Specify All Cloud Apps
- This will enforce MFA on all Microsoft apps such as Email, SharePoint etc…

- Under Conditions -> Client Apps -> Configure -> Select Yes to Enable
- I chose to select all client apps
- Finally Under Access Control: Specify Grant Access
- Require multi-factor authentication
- Under Multiple Controls: Select Require one of the selected controls

User Experience When Enrolling in Multi-Factor Authentication (MFA)
As important as it is to require MFA for your users, it is equally important to make sure they understand the process and have a good user experience. A good user experience will help adoption rates which will probably lead to less tickets in your queue (hopefully).
In any event, during my testing I noticed that it took a while to get prompted for MFA registration. I think that’s because it was evaluating the policies, but it took somewhere between 15-30 minutes after everything was setup. Let’s see what the user will experience on their end.
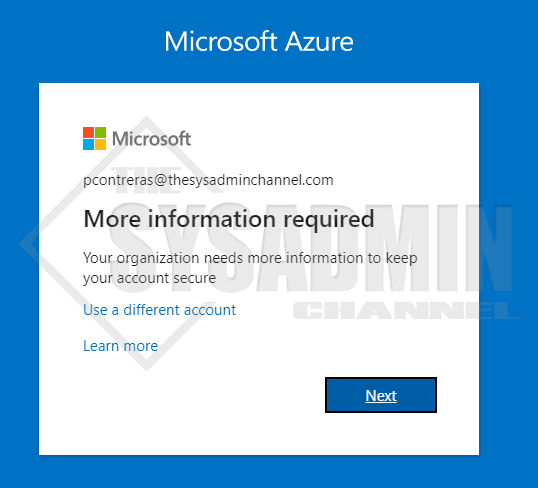
- Once a user hits an app that requires MFA, they will be prompted with this message box:
- More information required. Your organization needs more information to keep your account secure
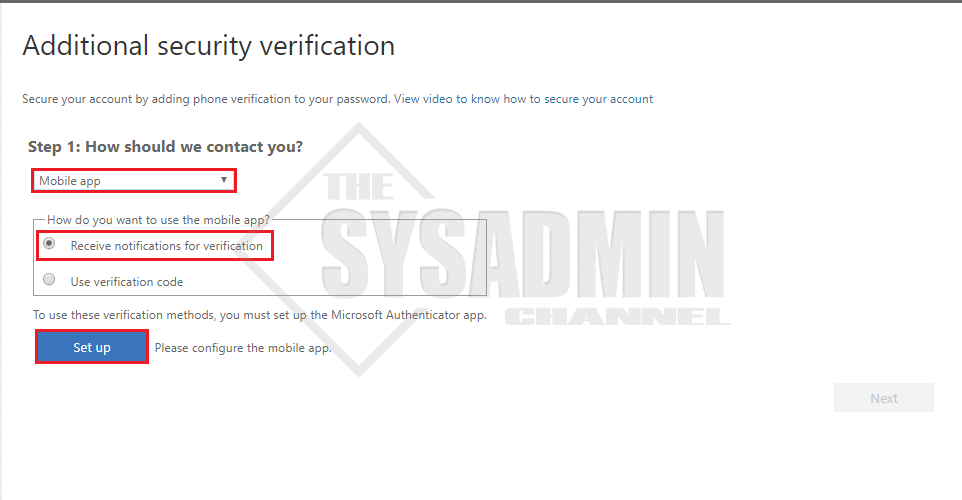
- Download the Microsoft Authenticator App on your smart phone device
- In the dropdown, select Mobile App for your contact method
- Select the radio button to receive notifications for verification
- Click Setup
- Follow the prompts to complete
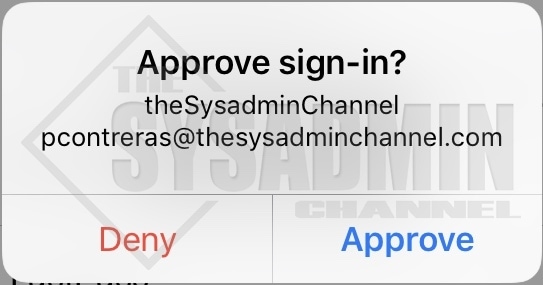
- After you’ve successfully registered, you can now approve sign in requests

Video Demo: How To Enable Azure MFA Using Conditional Access
Hopefully this step by step guide was helpful enough to Deploy MFA Using Azure AD Conditional Access for your environment.