If you’ve ever tried to setup an unattended install for Windows 10, you might have noticed during the install that you’re given options of which version you would like to choose. Today we’re going to the solve that issue and show you how to extract Windows 10 Enterprise WIM from ISO.

Some use cases for this would be to use an unattended install for Windows 10, you can also use this for SCCM or even MDT if you like. It can lower the footprint of your setup by removing unnecessary files that you know you won’t use. In my case I know I would use Windows 10 Enterprise 100% of the time because it’s the more appropriate version of my work environment.
Extract Windows 10 Enterprise WIM From ISO
Once you’ve downloaded your WIM file, let’s go ahead and mount it to your system so we can see exactly what we’re working with. In my case, I’m going to mount ‘Windows 10 20H2.iso’ to my D drive and open Powershell as an administrator.
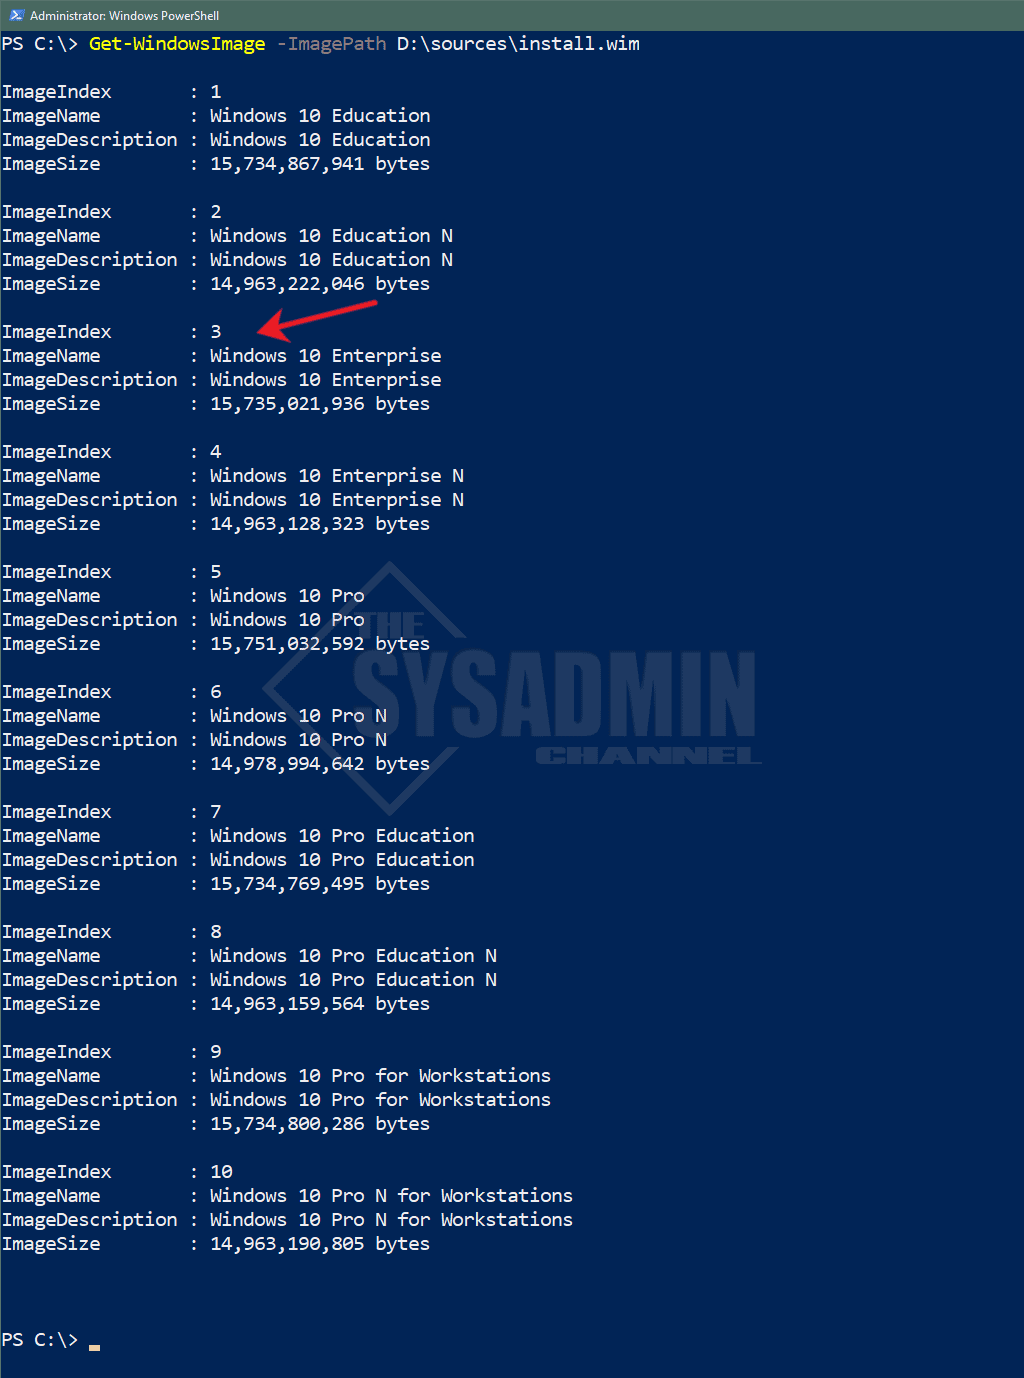
By default, any newer Windows 10 machine will have the DISM module loaded with the machine so make sure you’re using that to extract this. Next we’ll run the command Get-WindowsImage -ImagePath D:\sources\install.wim to spit all the WIM files that are associated with it. Once that happens, let’s take notice of the index that Windows 10 Enterprise is associated with. In our example, it is sitting at Index #3.
Click to view full image
PS C:\> Get-WindowsImage -ImagePath D:\sources\install.wim
ImageIndex : 1
ImageName : Windows 10 Education
ImageDescription : Windows 10 Education
ImageSize : 15,734,867,941 bytes
ImageIndex : 2
ImageName : Windows 10 Education N
ImageDescription : Windows 10 Education N
ImageSize : 14,963,222,046 bytes
ImageIndex : 3
ImageName : Windows 10 Enterprise
ImageDescription : Windows 10 Enterprise
ImageSize : 15,735,021,936 bytes
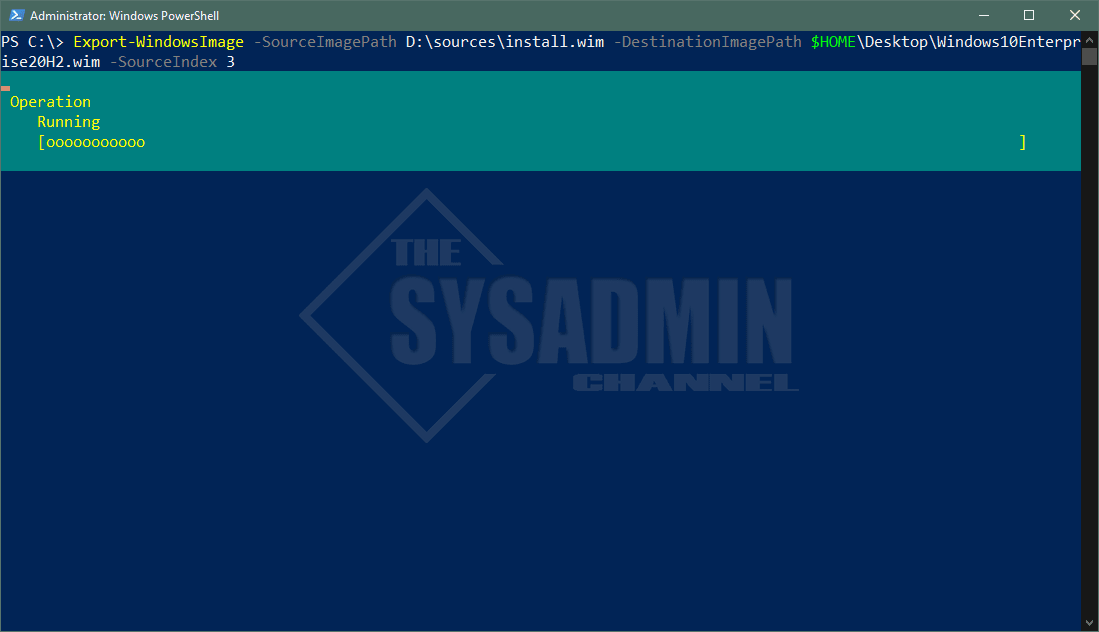
Next up we’ll run Export-WindowsImage -SourceImagePath D:\sources\install.wim -DestinationImagePath $HOME\Desktop\Windows10Enterprise20H2.wim -SourceIndex 3
This is telling Powershell to extract Index 3 from the info above as well as set the destination to my desktop.
Finally, you’ll need to replace install.wim that’s currently in the sources folder with the new wim you just created. You must rename it to install.wim because that’s what unattended installs are looking for by default so it must be set to that filename in order for it to work correctly.
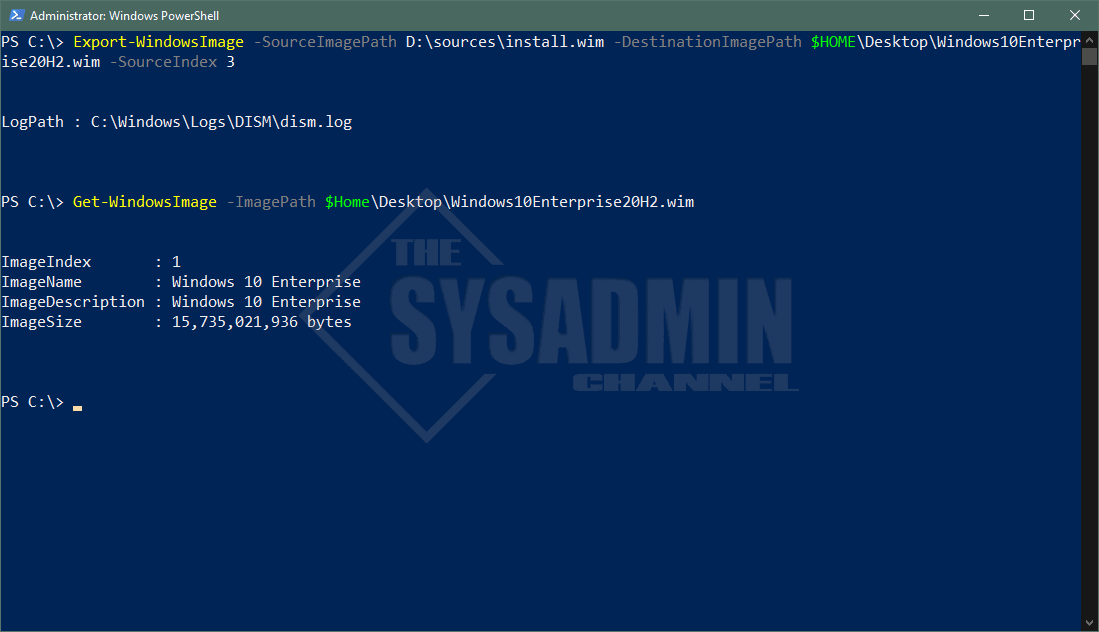
Next thing to do is to confirm that we’ve extracted the Windows 10 Enterprise WIM properly from the general ISO that was available to us. To do that we’ll run the same command that we did earlier, however, this time the difference would be that we only see Windows 10 Enterprise as our only option.
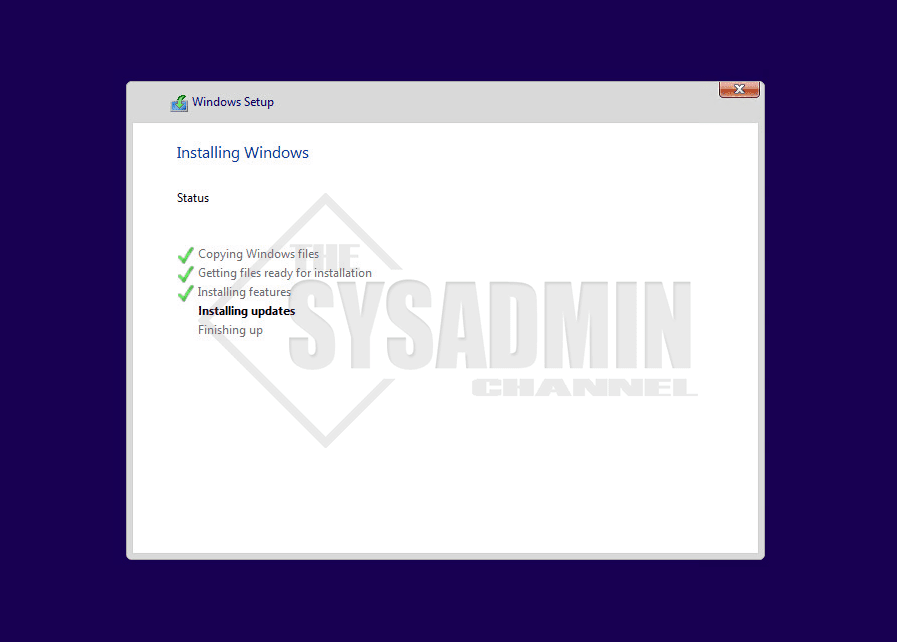
Now when you run the unattended install, you won’t be prompted for a Windows 10 version 🙂
Conclusion
Hopefully this article was able to help figure out how to extract Windows 10 Enterprise WIM from your ISO file. If you liked this article be sure to check out the others in our Server Administration.
nice work dude, just a word if i may: there is no install.wim on the 21H2 iso, only install.esd ( but your solution stiil works )