In this article I’m going to give you a step by step guide on how to Install and Configure ESXi 5.5. First and foremost, let’s talk about hardware.
ESXi 5.5 Hardware Requirements.
- ESXI 5.5 requires that you have at least 4GB of RAM.
- ESXI 5.5 only supports a host machine with a minimum of two cores.
- ESXi 5.5 must have at least 1 or more Gigabit or 10Gigabit Ethernet adapters.
- ESXi 5.5 requires the NX/XD bit to be enabled for the CPU in the BIOS
If you would like to know a little more on the hardware specs, check out VMWare’s site here.
Now that we have the hardware out of the way, we’re going to need the install media and probably a USB stick to boot to media. You can buy USB sticks on Amazon for super cheap these days but most of us already have one laying around. Once we have our flash drive, we’ll use it to create a bootable ISO of ESXi 5.5. If you haven’t found it yet, you can download ESXi version 5.5 here.
Install and Configure ESXi 5.5
Alright now that we have all the pre-requisites out of the way boot to USB and you’ll be presented with 2 options.
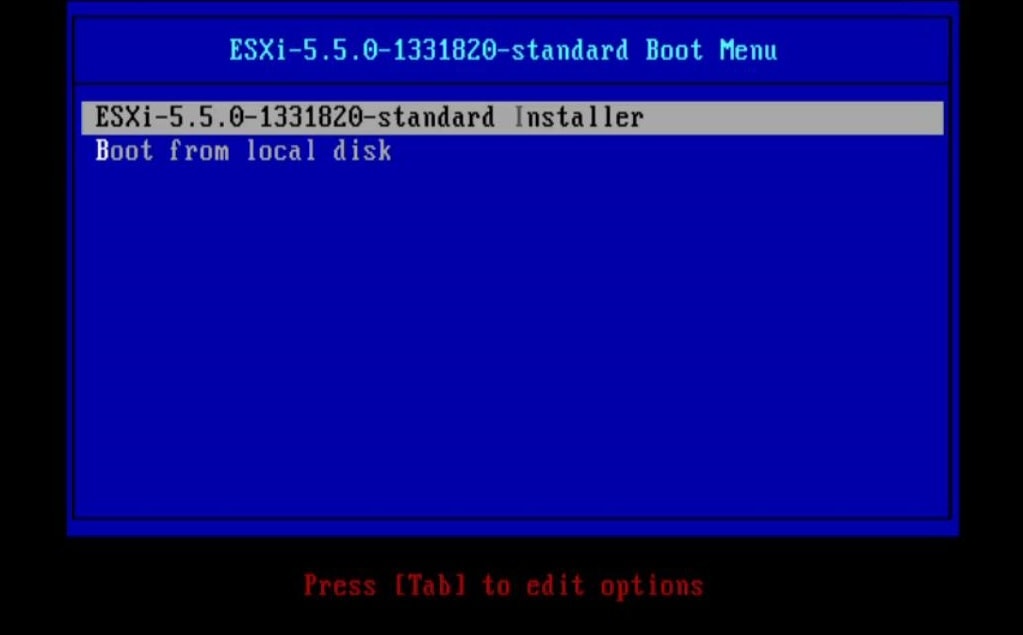
Press Enter on the ESXi-5.5.0 Installer and let it load. This process should take several minutes.
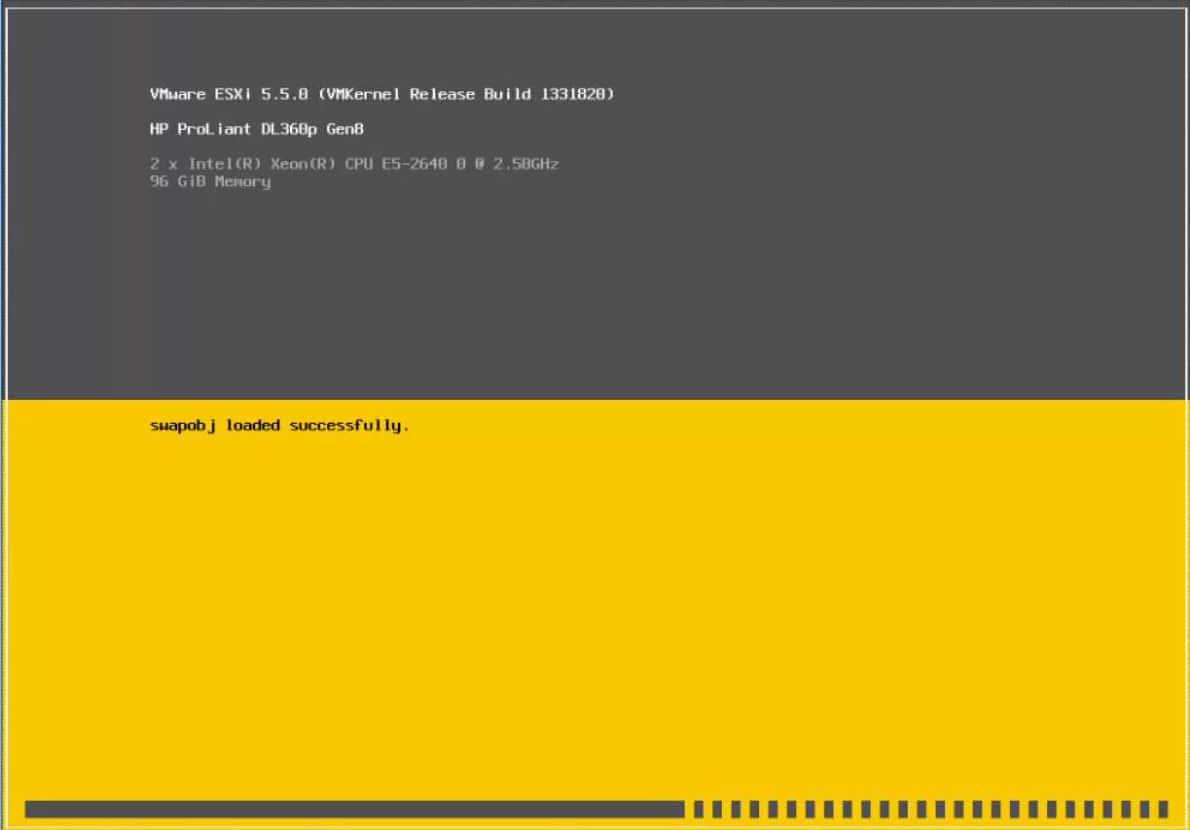
During this process you will be prompted to reboot several times. Follow the prompts on screen until you’re presented to create your root password.
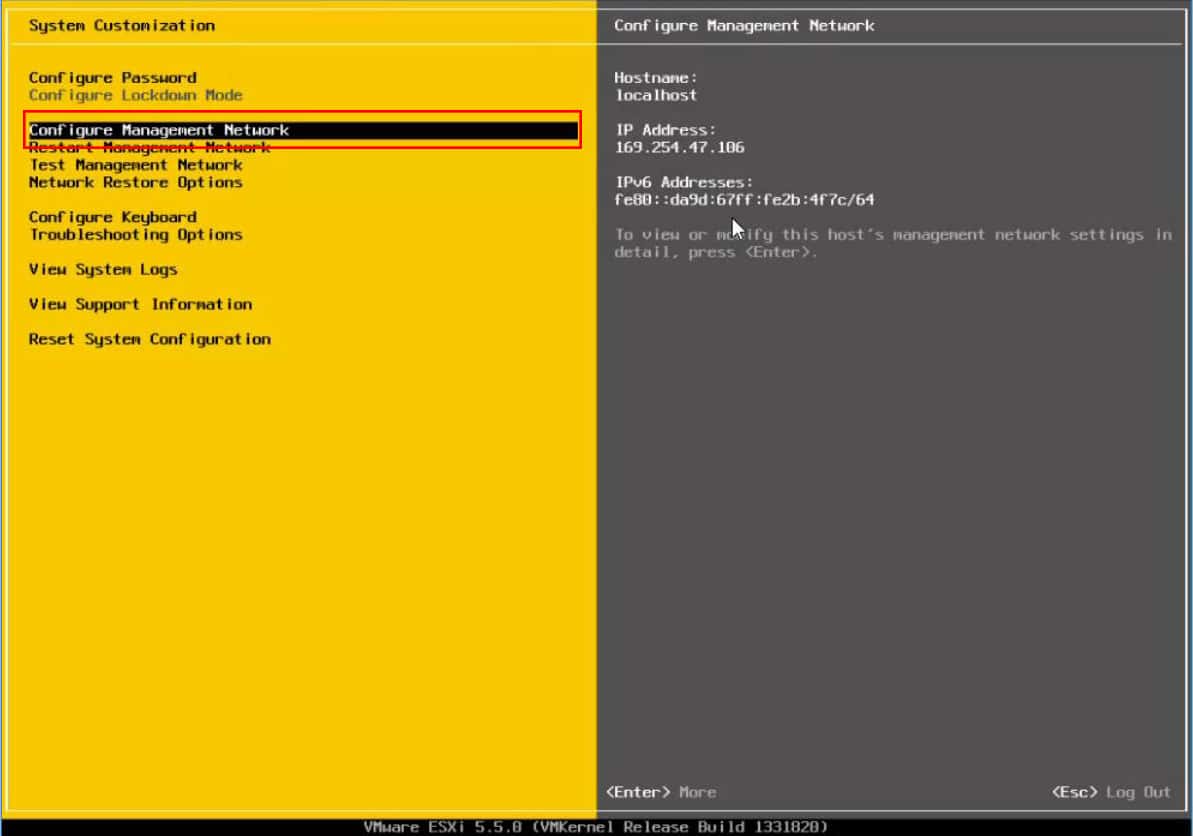
One you get passed all of the reboots and you’re ready to configure your brand new ESXi install, you’ll be presented with the following options. Click on “Configure Management Network” to statically assign your IP addresses.
Enter in your static IP so DHCP doesn’t change your IP in the future.
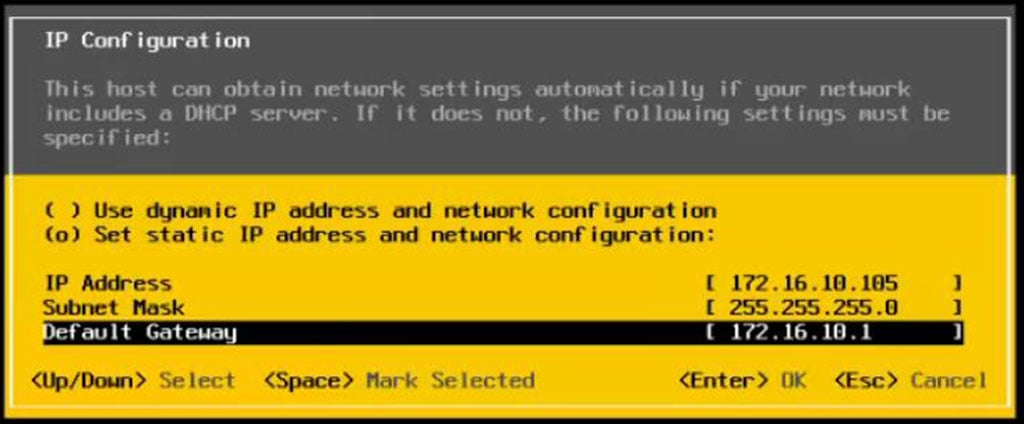
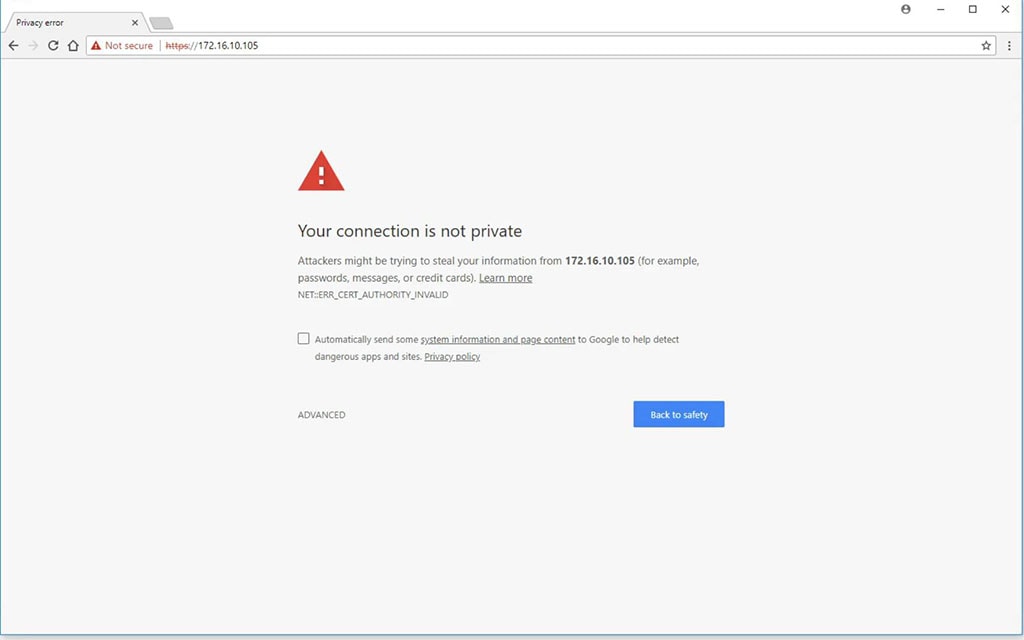
In my case I’m going to use 172.16.10.105 /24.
Another important piece of the puzzle is the need to enter in our DNS servers and set our Hostname.

90% of time your DNS servers will be your Active Directory Domain Controllers.
Next we’re going to set our DNS suffix. This is set to your domain name.
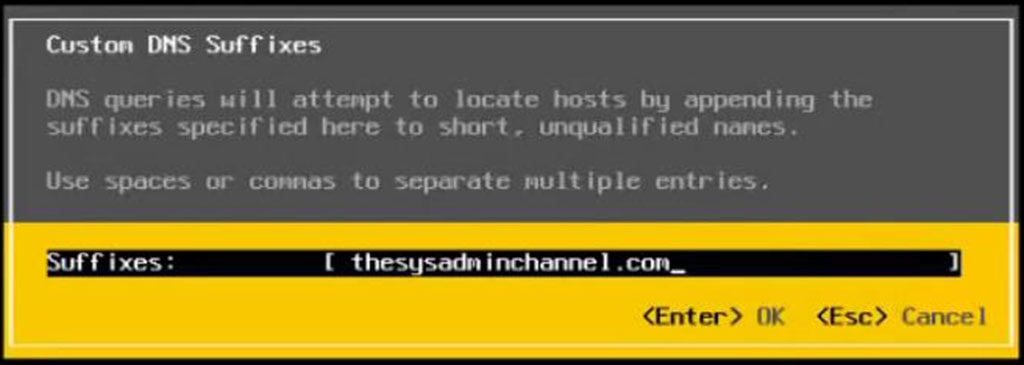
In my case, I’m setting the DNS suffix to thesysadminchannel.com
The initial configuration portion of your ESXi 5.5 host is now complete. For our final step we’re going to go to our favorite browser and enter in the IP we set in the previous steps. You will be presented with an unsafe connection, no need to worry about this since we don’t have the SSL certificates installed.
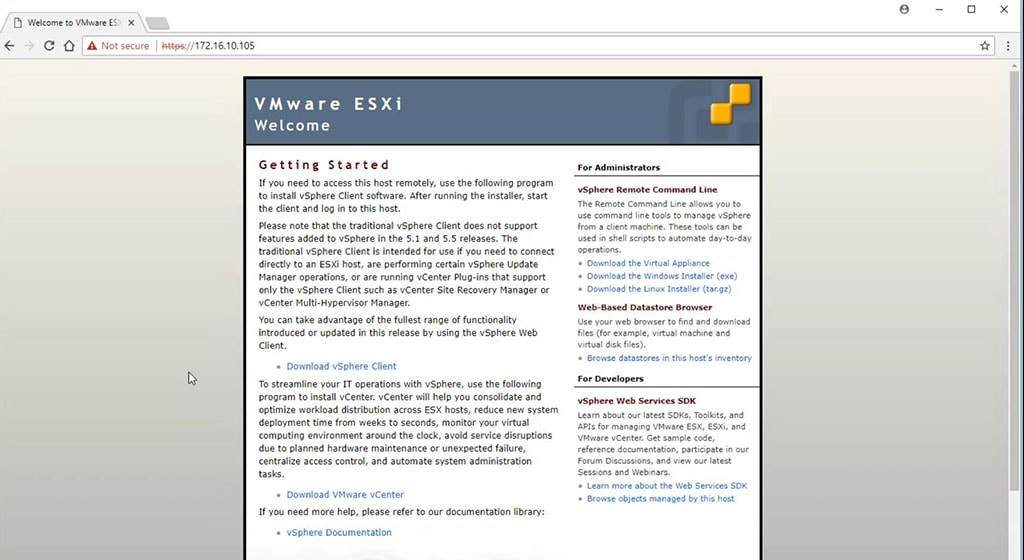
If you see this screen, congratulations!! You have just installed ESXi as your bare metal hypervisor.
Video on How To Install and Configure ESXi 5.5
So whats the best way to learn VMWare? Practice Practice Practice!! If you want to learn more about virtualization, sure reading books is a definite boost in knowledge, but what really cements that learning is getting the hands on practice you need.
Start out by building a small home lab and installing it on your own. I have listed several eBay listings for Dell R710 and HP DL380 servers to give you that extra edge you’re looking for.
I hope this step by step guide on How to Install and Configure ESXi 5.5 has helped you. If you have any question don’t hesitate to leave a comment and I’ll get back you!!