Any SCCM admin would find it very useful and bit more convenient to have the console installed on their local machine. This is especially the case as apposed to remoting into the Site server whenever they want to administer SCCM. For me personally, I have always found it very useful to have the console on hand so today we’re going to go through the steps to install the SCCM admin console on a Windows 10 machine.
- To start off you’ll need to have admin rights to your machine
- You’ll need to know the name of site server you’re going to connect to
- Navigate to <SCCM site server installation path>\Tools\ConsoleSetup
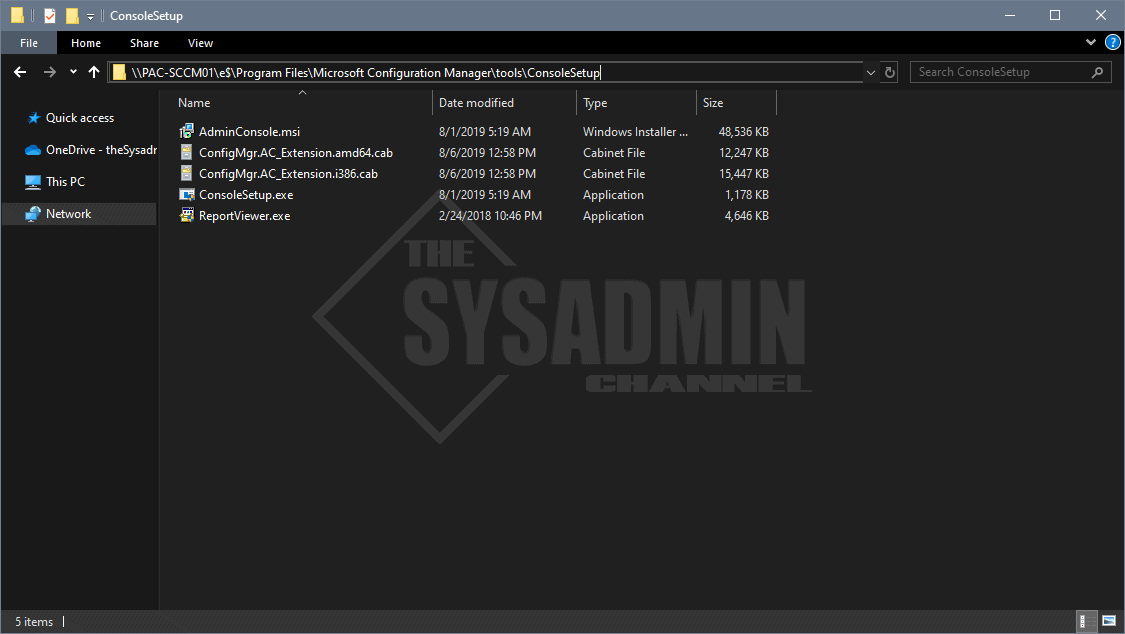
In my case, PAC-SCCM01 is my primary server and the installation path is “E:\Program Files\Microsoft Configuration Manager”
Install SCCM Admin Console On Windows 10
Once you’re in that folder follow these steps to install the SCCM administrative console on your Windows 10 machine.
- Double click on ConsoleSetup.exe
- Click Next and follow prompts
- Enter in your Primary Server name e.g. PAC-SCCM01
- Finish installation and open application

So hopefully you were able to install the admin console on your Windows 10 machine and have it work like a charm. It’s great knowing that you can connect locally without having to RDP into a different machine.
If you’re interested in more content like this, be sure to check out our SCCM category and SCCM playlist on YouTube.
Thank you for your knowledge and instruction on how to accomplish configurations.