In the event you ever need to forward email in Office 365, whether it be because a user has termed or simply just because, I’ll show you the step by step on how to get that done in both the GUI method as well as Powershell for easier automation. We <3 powershell. i should also note that there are essentially 2 ways to forward emails. one method lets you set an email address of your choice (forwardingstmpaddress) and the other choose a name from gal (forwardingaddress). this article will show forwardingsmtpaddress method.
How To Forward Email in Office 365 – GUI Version
For those click and point sysadmins we’ll begin by logging into https://portal.office.com and clicking on the Admin link to launch the admin portal.
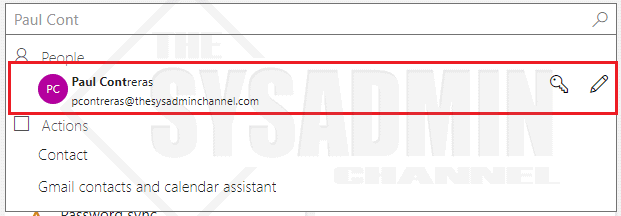
- If you want to forward an SMTP address to anyone, even external users, search the user in the Search Box
- Click on the user and a side panel should open up
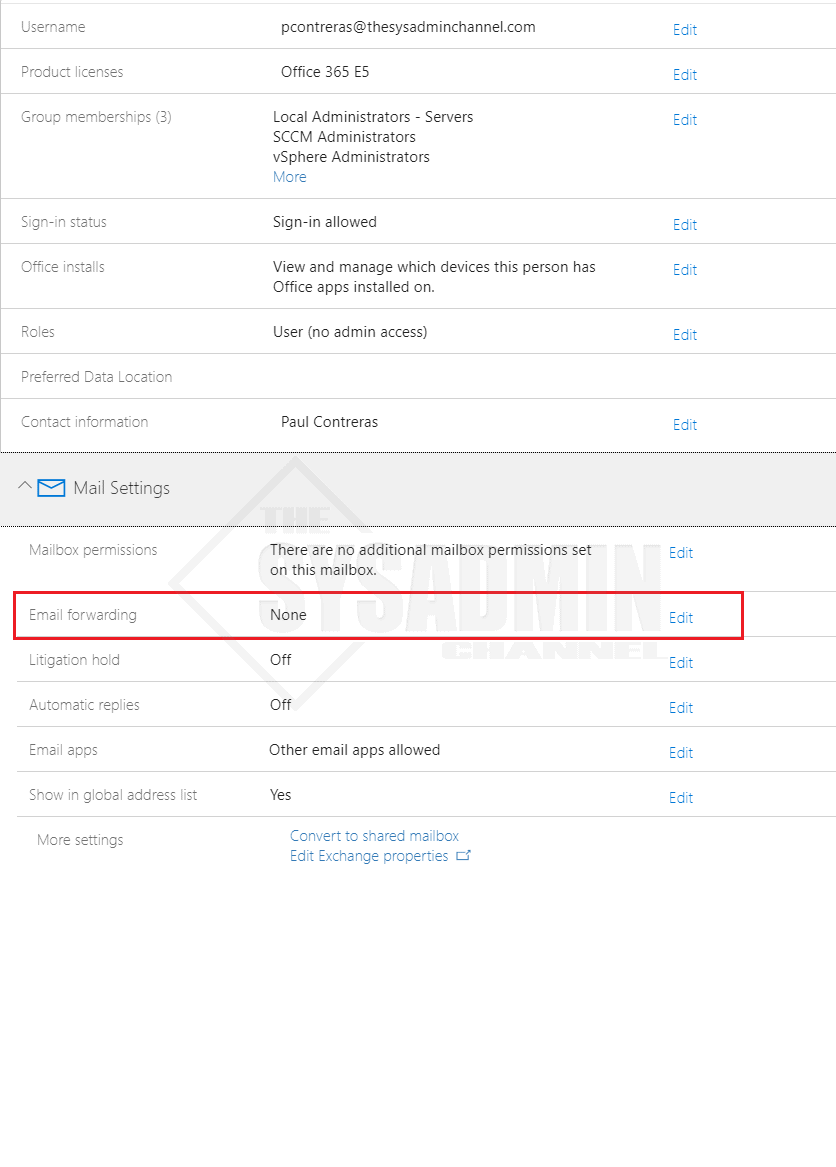
- Click Edit on the Email Forwarding Portion.
- Click to enable Forward all emails to this mailbox
- Finally enter in the external email address you would like to forward to
- Depending on the requirements, check the box if you want to keep a copy in the original mailbox
How To Forward Email in Office 365 – Powershell
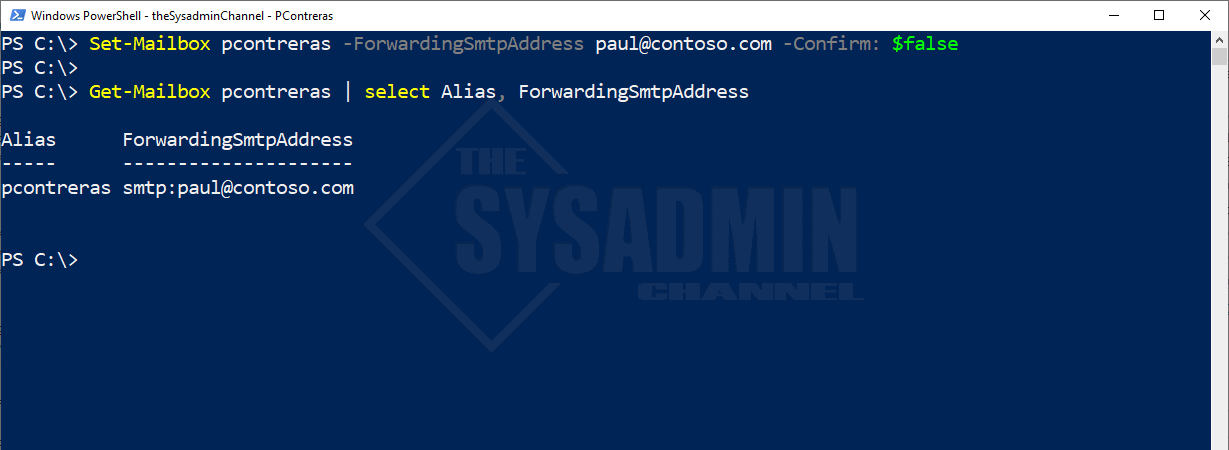
First we’re going to need to establish a connection to the Office 365 Powershell. Once that’s done we run the simple command:
#Forward email from pcontreras to [email protected]
Set-Mailbox pcontreras -ForwardingSmtpAddress [email protected] -Confirm: $false

#Check the status of the email forward.
Get-Mailbox pcontreras | select Alias, ForwardingSmtpAddress

#Revert back and disable forwarding.
Set-Mailbox pcontreras -ForwardingSmtpAddress $null -Confirm: $false
Thanks and hopefully that helped you forward an email to any user.


